>

Saturday, April 16, 2011

Reviving old papers


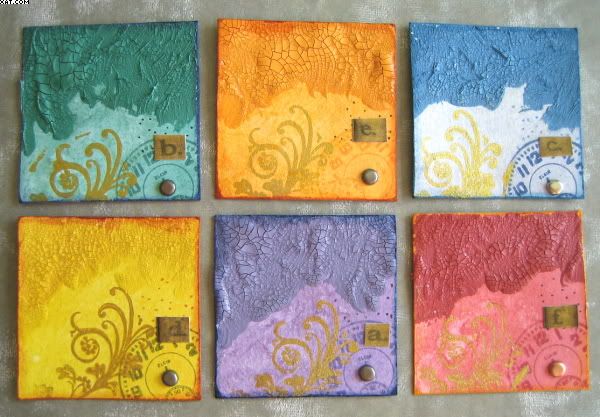
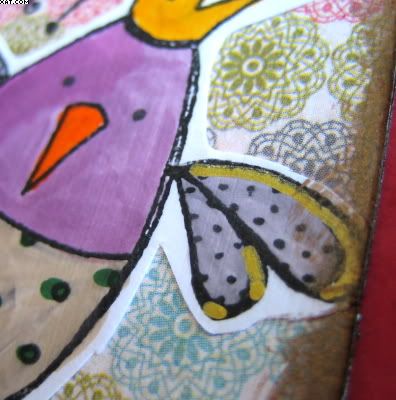
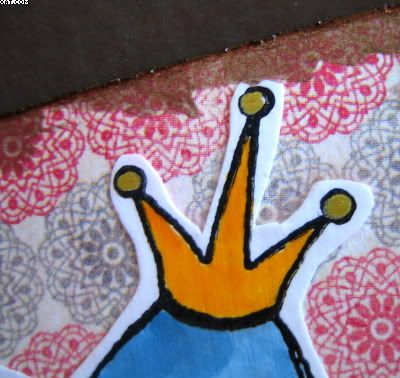
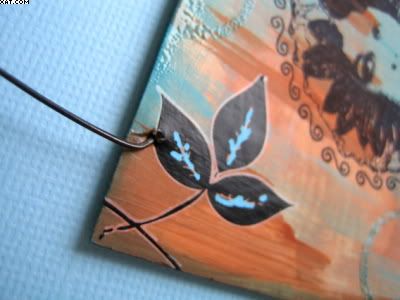
I have loads of old 12 x 12 printed scrapbook papers........... don't you?  I have recently taken part in a swap where we had to alter a 12 x 12 sheet, cut it into nine 4 x 4 pieces and swap with others.

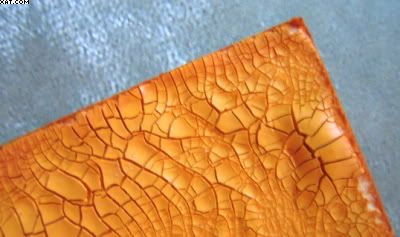
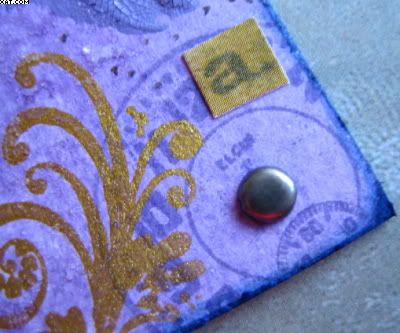
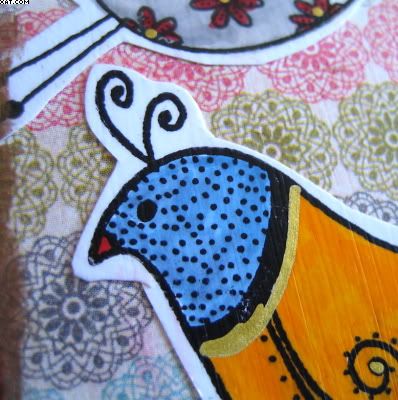
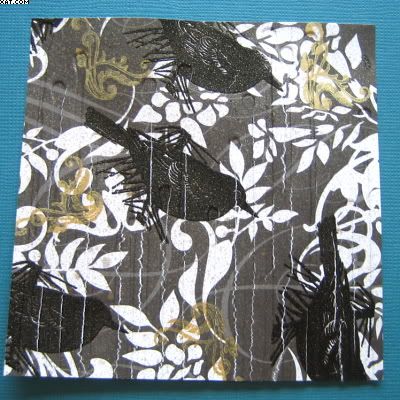
This is one I just did.  The original paper was grey and has printed white leaves on it.  To alter it I stamped with a bird stamp (a Stamp In The Hand) inked with Versamark and heat embossed with detail black embossing powder.  I then took a swirls stamp (Creative Expressions ) and inked with Stazon gold and randomly stamped with this.  The final touch was to spray with some heirloom gold Perfect Pearl Mist and allow to dry.  Can't easily be seen in the pic !

That was it, I then cut up and used a drips embossing folder to emboss each piece and then posted.  A new lease of life to all those old papers we have and they can be used on collage, cards and many other projects.

Sid xx

Pin It

Sunday, April 10, 2011

Distressed Twinchies


One of the members on UK Stampers Forum has revived the Twinchie swap after a period of dormancy.  This swap has the theme of 'Distressed' and need us each to make 6 Twinchies.


I made 6 twinchies from thick card cut to 2 x 2 inches.  The theme is the same for each of them.  I first gave the surface a coat of Distress Ink applied with foam.  I used pine needles, spiced marmalade, weathered wood, mustard seed, dusty concord and fired brick.

Next a thick coat of the corresponding Distress Crackle paint wa added and allowed to dry completely.  A clock face and a swirl stamp from Crafty Individuals was then inked in the corresponding Distress ink and gold Stazon and stamped as shown. A splodge of Rock Candy Stickles was added and rubbed over with a finger to spread.


The edges of each inchie were then distressed with sandpaper and inked in a corresponding colour.  Finishing touch was to add a metallic brad in the middle of each watch face and a cut down TH letter sticker.

Sid xx

Pin It

Saturday, April 09, 2011

Birdy Bookmark

Front


I have been making a bookmark for a swap on UK Stampers Forum and initially had no idea what theme to do it in.  I ended up using some fab quirky bird stamps from Personal Impressions (Knotty & Friends - Trotty, Lotty & Botty)

They were stamped onto thin white card in black archival ink and then coloured with Copic markers in bold colours with some areas coloured in gold pen to highlight.


Back


The images were then trimmed out leaving a thin border and set aside.


The bookmark base was a piece of card cut to size and covered on both sides with a paper from My Minds Eye (Stella & Rose - Hazel).  I used Claudine Helmuths Studio matte multi-medium applied with a wide brush as an adhesive.


The coloured birdy cut-outs were then adhered with the same medium and the 'Tweet Tweet' words stamped twice on each side of the bookmark.


The edges of the bookmark were painted with an uneven border of Decoart rich espresso metallic paint with a small brush and the edges rubbed over with dark brown chalk ink to colour any white left behind.

I then gave the whole thing a good coat of the matte multi-medium to seal and provide durability.

Sid xx

Pin It

Wednesday, April 06, 2011

That 'Blooming' Hanger


Thought you might like to see a little mini-hanger that was done as a swap over on UK Stampers Forum.  This swap comprised of a free style 3 x 3 inch hanging to be swapped with a swap partner.

I did mine on a base of old brown cardboard cut to size on the trimmer.  I have recently bought the latest set of colours of the Dylusions paints from Art From The Heart and after applying a piece of thin white card to the base, used grey, sienna & turquoise paints applied with a brush until happy with the effect.  Once dry this provided a surface on which to work.


I punched out a border with an EK Success edger punch and stuck this in place at the base of the square. Then I stamped in archival black the central image with a Lost Coast stamp.  I used a round lid and inked the lid with broken china distress ink applying rings of ink as shown.  These were heat embossed with detail clear embossing powder.


I then used some rub-ons (Kaisercraft) of a flower and a leafy sprig to decorate further. The butterfly is a self adhesive salvage sticker from TH.  I then used an opaque Posca pen in turquoise to edge and colour some elements.  The edges of the hanger were coloured further with broken china distress ink applied with cut'n'dry foam.


The hanger itself was fashioned from a piece of florists wire threaded through two holes made with a pokey tool and a mini label was added with the word 'Bloom'.

Sid xx

Pin It

Tuesday, April 05, 2011

A cup fit for a Red Queen?


Once more and in line with my Alice in Wonderland theme this cup was made at our retreat in Skipton as one of our projects. The template for making these teacups came from Ann Woods Blog which has loads of other inspiring creations.

The template was cut out from recycled cereal boxes which were reinforced with strips of paper and PVA glue to make papier mache (of a type).  The teacup was allowed to dry completely.

I painted mine with a few coats of matt Dylusions paint and then decorated with a gold pen and some Dew Drops.  The inside was sprayed with antique gold shimmer mist to give it a sheen.  The hearts are cut from pink card using a heart Nestabilities die and stuck in place, followed by a coat of Stickles diamond glitter glue.


This one is displayed on an old porcelain saucer which I didn't make !!

Messy to make but really satisfying once complete.

Sid xx

Pin It
Related Posts Plugin for WordPress, Blogger...